In yesterday’s blog I explained how I started my Forest Quilt.
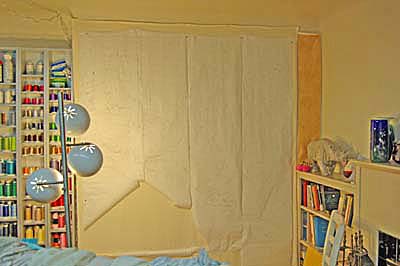
I also showed this picture of the schematic I drew for the design – it looks like a “Paint by Numbers” sketch. You can see that a chunk of it is missing. I cut out section by section to use the wax paper as templates. Ruth McDowell says start at the top, but my top was quite detailed whereas the bottom had bigger pieces, so I thought I’d ignore her advice. Of course she had her reasons for her advice, and they were good ones I came to find out.
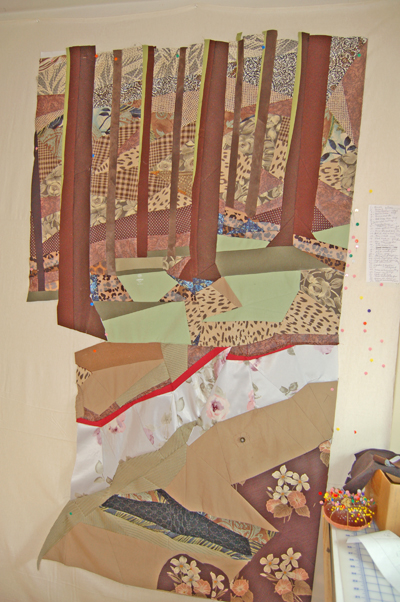
The first thing I discovered on this journey was that I had to have two design walls – one to draw the design and another to put up the pieces of patchwork as I did them. As you can see, they are opposites and can’t be done on the same wall. Above you can see the results of my paper piecing about half way through the process. This wall is in my sewing room and it was quite handy. The problem of starting at the bottom – as you can see – is that you can’t control the layout as well – this one tended to be a bit out of whack at the the bottom. I had no problems at the top.
Notice the small button on the tan expanse in the bottom section. The tan jacket used for ground around the stream had the greatest buttons – so I figured I’d work this one into the design somehow. I was also proud of my fallen log at the bottom because none of that was appliqued, simply pieced.
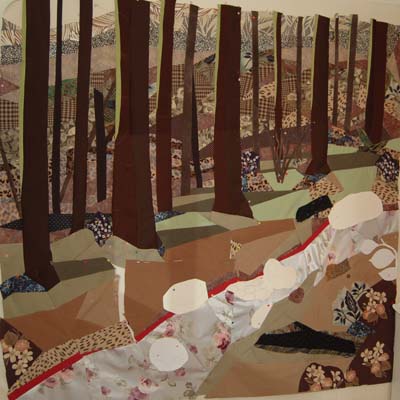
In the above picture the background patchwork is mostly finished and I’ve begun the task of appliqueing certain items. You can see pins where I have yet to sew some of the sections together. It was easier to applique on smaller quilt pieces, so I didn’t sew the background together completely until near the end. Also, the larger the quilt became, the harder it was to control those seams so that the overall dimensions stayed true. The white objects are templates of rocks to be appliqued.
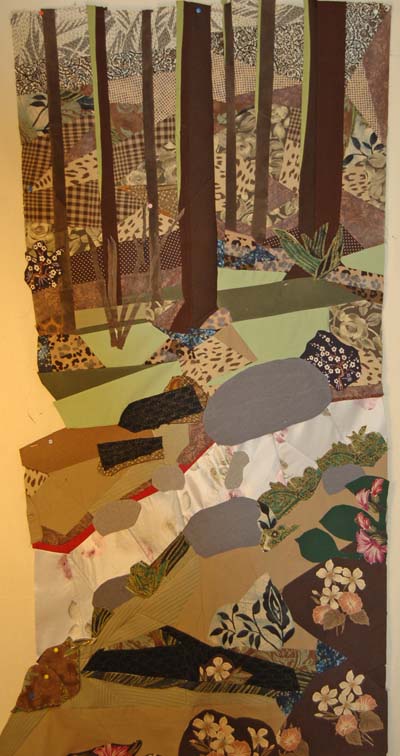
In this picture I have only half of the work on the wall. I’ve added rocks to the stream and more “flowers” above. Note the patches of white flowers in the upper half. I decided that they stood out too much and eliminated them from the final quilt.
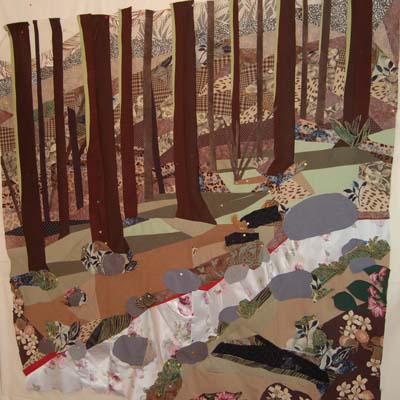
At this point I was ready to join all the seams and quilt the piece. I was about three weeks into the project.
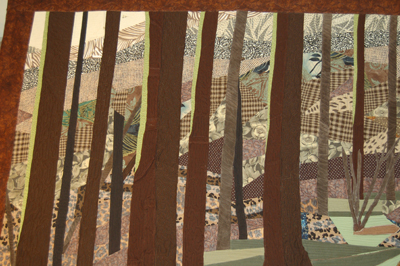
Above is a closeup of the upper quilt after quilting (but not bound).
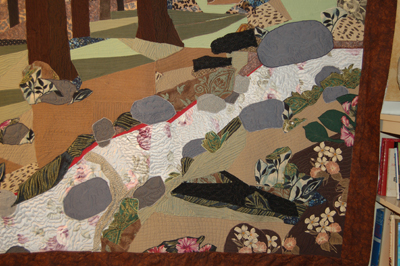
Next a closeup of the bottom of the quilt, showing the rippled water. Unfortunately the quilting on the rocks doesn’t show up on photos very well, but the quilting helped make them look multidimensional.
And last of all, the full picture of the completed quilt:
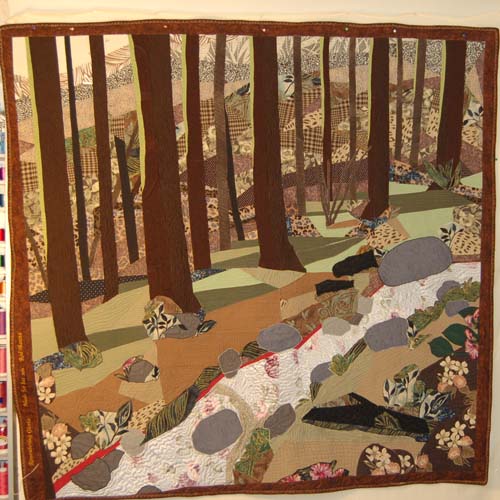
In an effort to add interest and also to square off the quilt, I cut back the borders and let the water almost literally run off the left-hand side of the quilt.
Dimensions were about 68″x68″. I thoroughly enjoyed the process of making this quilt, and it was a fairly light quilt after all. Not a heavy wall hanging.
