Today I delivered two quilts to a family who had trusted me with lots of beautiful clothes belonging to a wonderful lady who died just last October. Both quilts were made entirely from these clothes (with the exception of the borders and the backing.) I am very happy to say that they were very pleased with them. I’ve been wanting to talk about these quilts on my blog, but felt it best to wait until the quilts were in the hands of the owners.
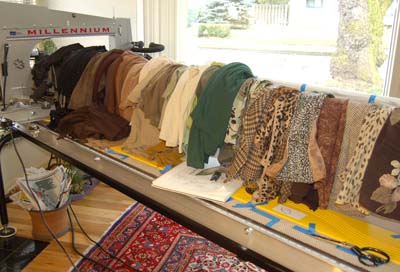
Lined up on my longarm machine you can see the clothes that I had to work with. I had discussed what the themes should be with the daughter and she was certain that one of them at least should have a forest theme, as her mom loved the outdoors and their house was set deep in a forest way up on the side of the wooded slope. So the first thing I did was separate the clothes by color, leaving out all with a color or design that could possibly be used in a forest scene.
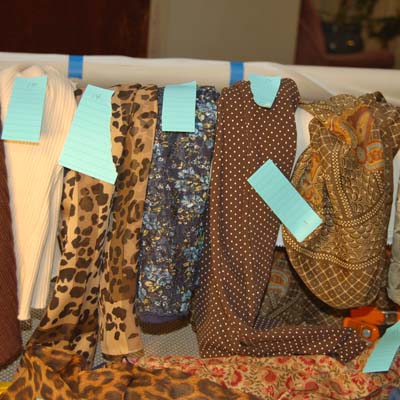
The next thing I did was put them in some sort of order by color groups and number each item (see above). The sticky notes worked very well.
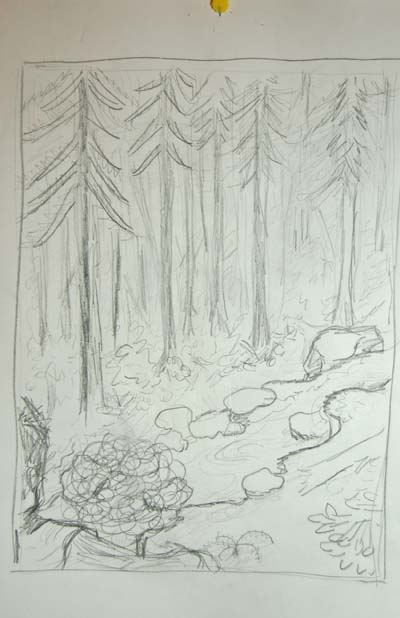
At this point I made a brief sketch of a forested slope, similar to the one I’d seen at the owner’s house. I decided to add a stream because one of the clothes was a shiny light blue/white robe what would do well as water in a stream, even if it did have subtle pale roses and leaves throughout.
On the living room wall, behind my longarm machine, I have fashioned a design wall (one of two). On it I pinned strips of waxed paper down the length of wall, then taped them together to form a palette of sorts.
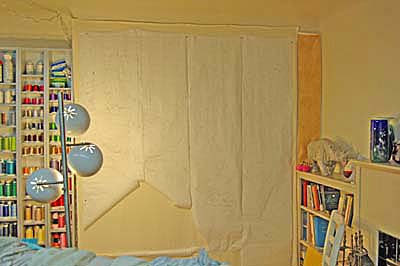
I then spent a day drawing out my idea for the design, keeping in mind that the “pattern” would show up on the opposite side – the wax paper against the wall. So on the drawing, the water started midway on the left side and washed out at the extreme right (whereas on the quilt it is the reverse!).
As I drew the design, I blocked out a pattern for each piece of the puzzle and gave each piece both a letter and a number. The design was divided into sections – the sections were divided into pieces – so they were numbered A1, A2, A3 . . . . or B1, B2, B3, etc. Below is one section showing the drawings and their numbering.
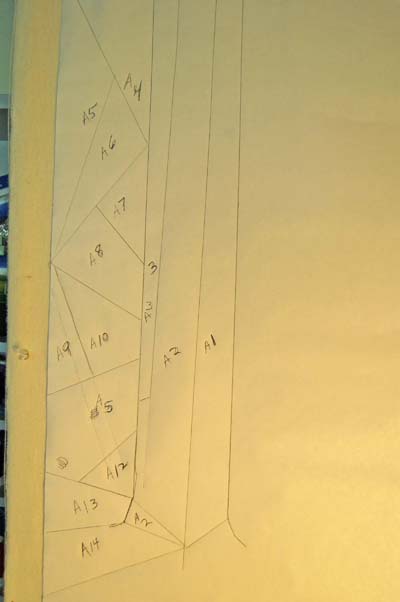
“A” stands for Section A but the number after the “A” is the number of a piece of clothing. Everyone confused by now? I’m telling you, I was confused some of the time. This is why I took pictures of each section of drawing, because I knew I was going to cut up the design and use it to paper piece. I wanted a record to refer to if I needed it – and this came in handy later.
Incidentally, I got the idea of paper piecing a picture from Ruth B. McDowell but I never read her book on how to do it, so I made this up as I went along. She does amazing pictures that are completely paper pieced, not appliqued. I wanted to use some applique but only a minimal amount, because I wanted the quilts to be lighter and not layered.
To be continued . . . .
